
This weekend I was going to begin working on the Org Junkie's September organizing challenge and what better way to start the challenge that decide on what containers I would be using. It hit me then, I need some type of magazine holders on the desk for coupons, phone books, magazines, and random papers. I began looking for cute ones and realized they were expensive, but I could get these wonderful, ugly, ones for much cheaper.

Now who wants these ugly ones though on their desk at home? I don't!! Simple as pie though, I'll just recover these ugly ones with a more neutral toned down look.
Supplies you will need for this project. One cardboard magazine file, one roll of contact paper (pattern of your choice), pair of scissors, exacto knife.
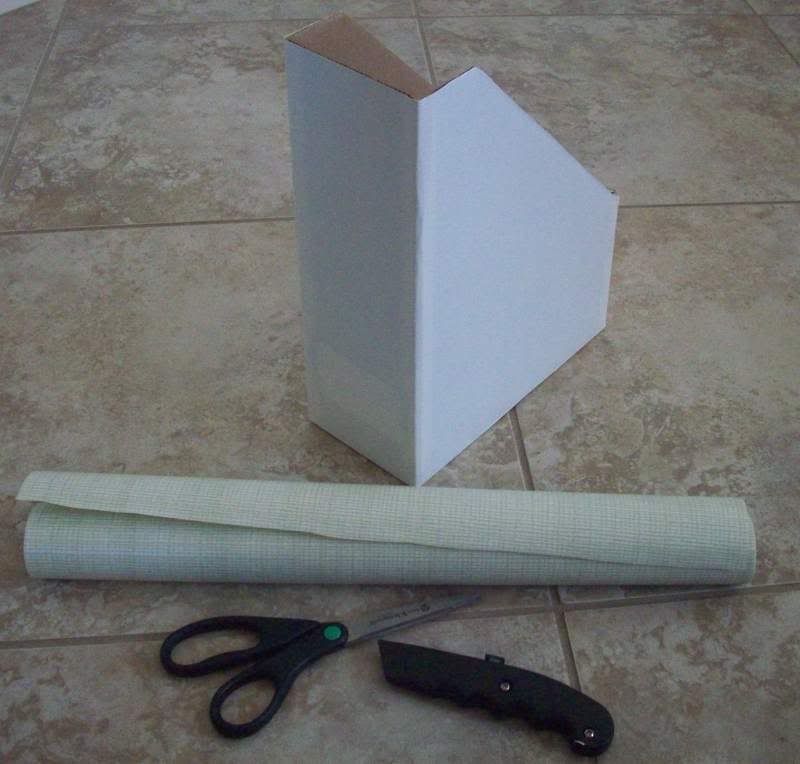
Note: My file box started off brown but since my chosen paper was a light color I did a base coat of white contact paper before doing the green one that you will see in the following steps.
Step 1: Measure the contact paper and trim to fit the file box. You will want a small overlap to ensure complete coverage.
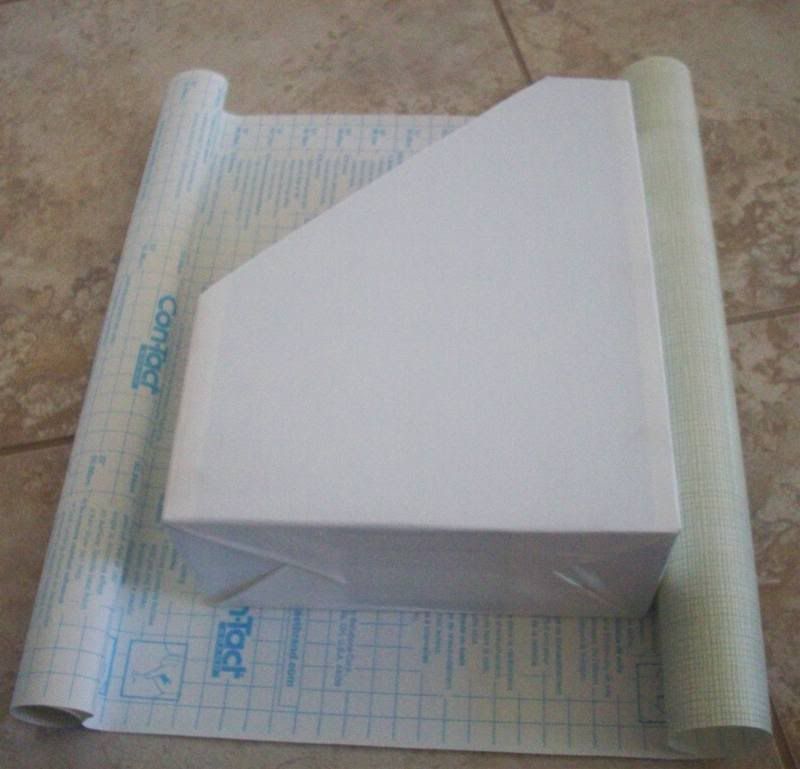
Step 2: Begin to peel the contact paper backing from the sheet and place your file box on the sticky side of the paper. Make sure to line your box up so the seam where the papers will overlap is on the side of the box that will go against the wall and not be seen. I'm going to be using the longer edge of my box as the outer side and therefore will want me seem to be on the short edge.
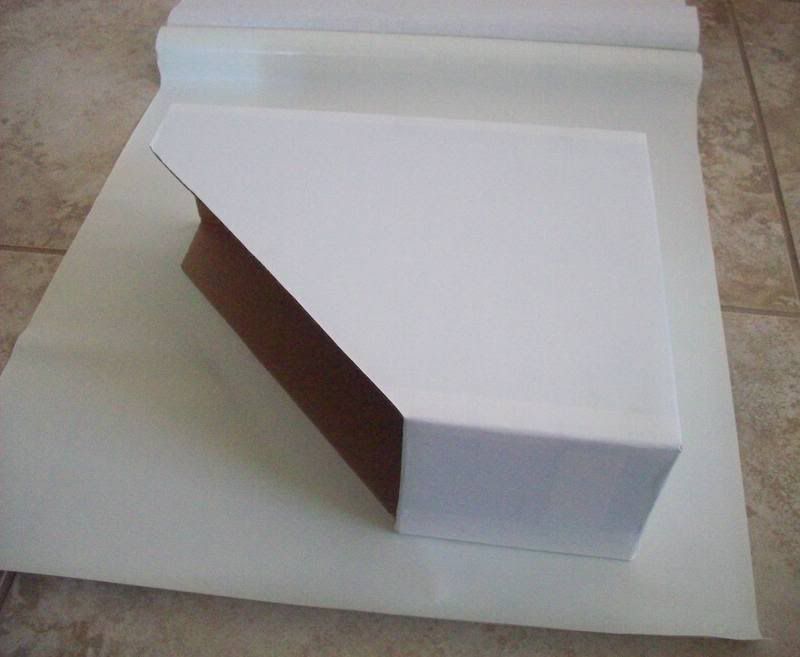

Step 3: Finish peeling off the remainder of the backing and wrap the rest of the file box. There should be a small overlap one the seam side

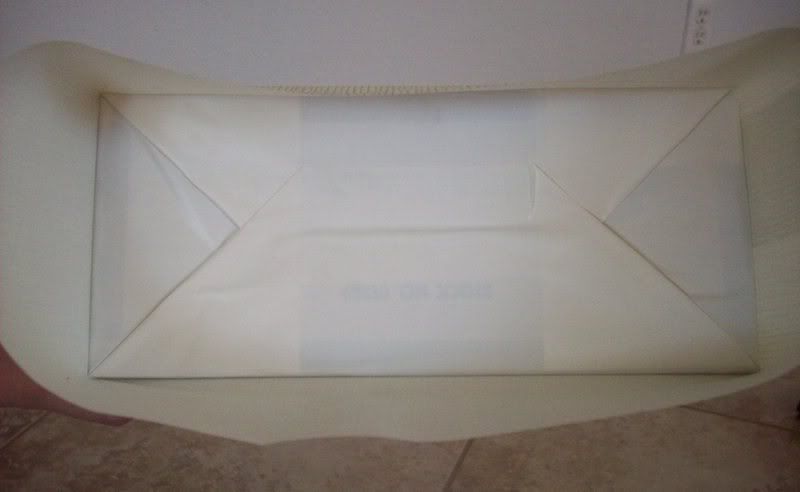
Step 4: The bottom of the box will now need to be folded over, think wrapping a present when you do this technique. Notice the finished white under pattern to see how the folds are made
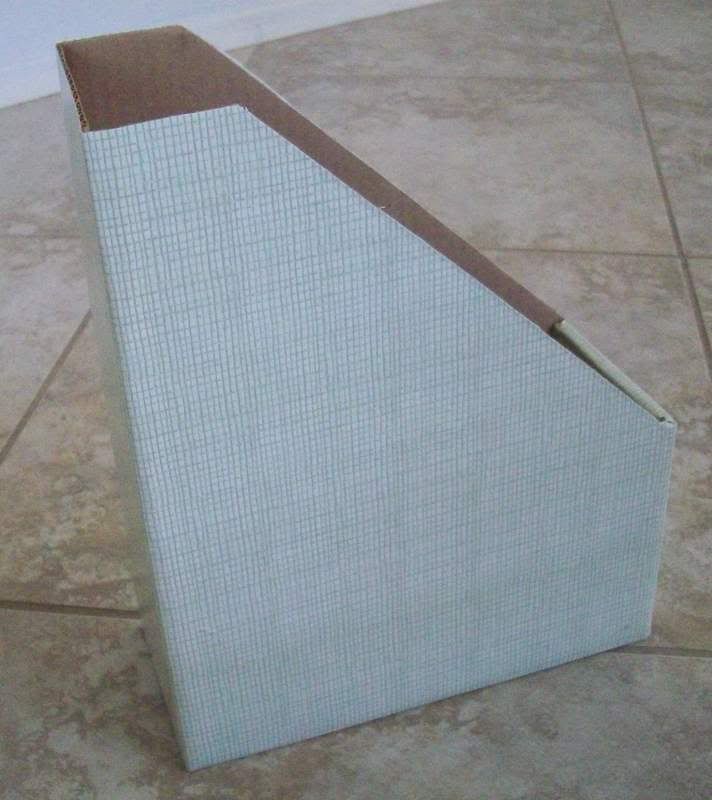
Step 5: Place the file box on a steady surface and with an exacto knife cut around the top of the file box. You can rest the tip of the knife on the edge of the cardboard to get an easy straight cut

Step 6: Finished product

Step 7: Insert items, label file boxes, and place in desired location for a wonderful finished, organized, and most important not ugly brown look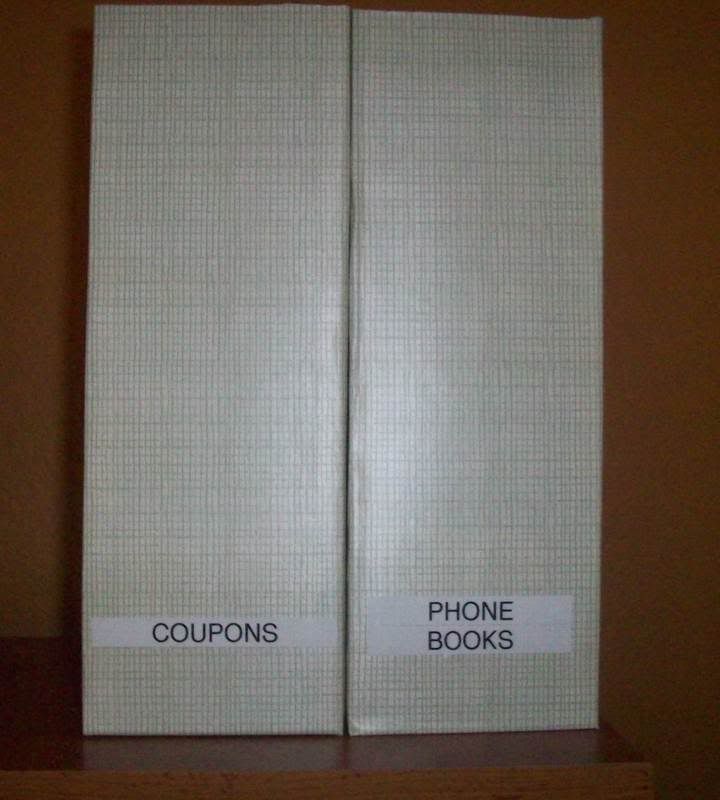
Well, there you have my first tutorial. I hope it works for you ok too.


4 comments:
Fantastic!!! Im going to post a link from my blog and submit you right now to Craft Magazine..Yay!
very creative!
very creative!
Neat idea. I love customizing everyday boring household items. I am going to try this one out! THanks for the idea, and your blog is very interesting to read!
Post a Comment